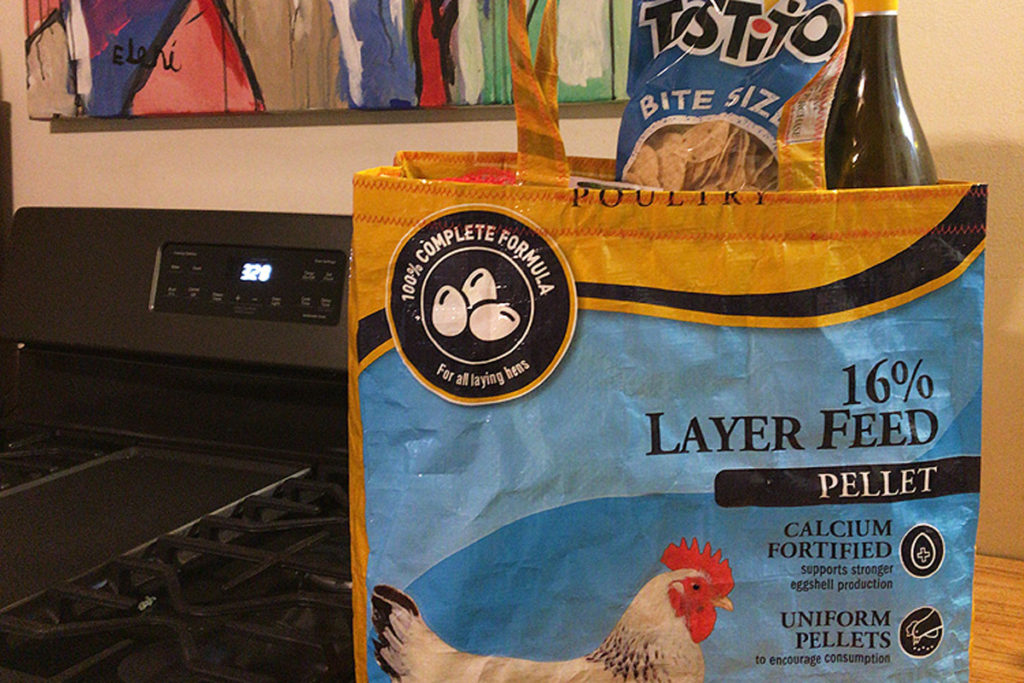
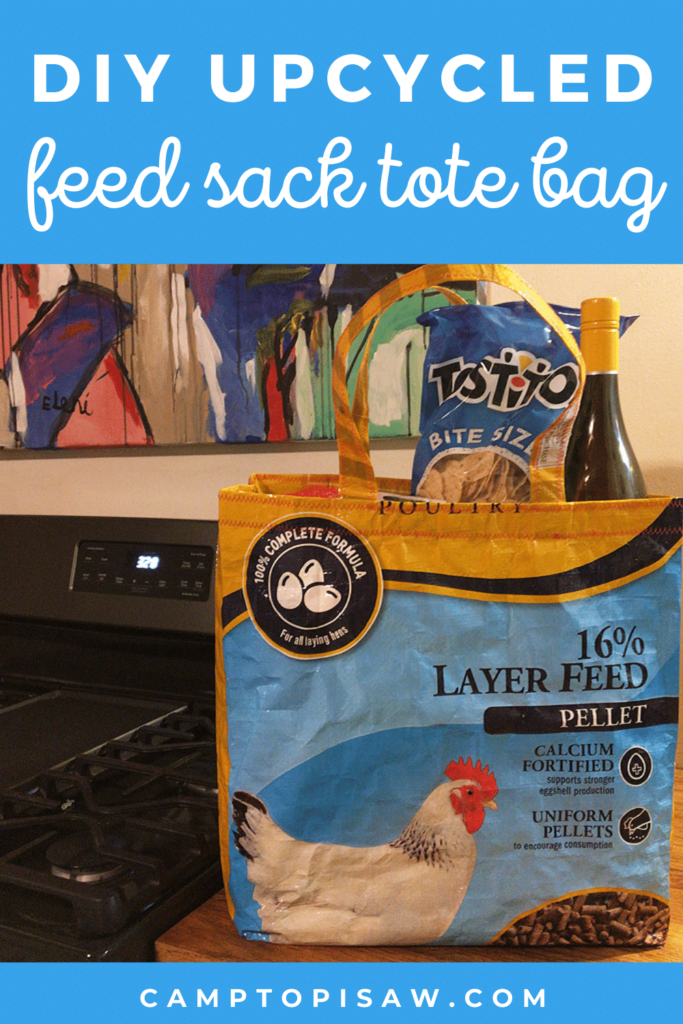
If there’s one thing we have on the farm, it’s feed sacks! And because these sacks are made to hold 50 pounds each, they are tough! What better material to use for crafting a DIY upcycled feed sack tote bag?

This post may contain affiliate links, which means if you make a purchase through the link, I may make a commission at no cost to you. See my Affiliate Disclosure Policy for more information.
Have you heard of upcycling?
It’s basically taking something old and making it into something new and useful–like this feed sack tote bag!
When the kids were little they had a book called Something From Nothing . I can’t remember all the details, but it involved a treasured blanket becoming progressively smaller as it was made first into a shirt and finally a tiny button. Each object was still valued, despite its reduced size.
I love that idea: taking something that is no longer useful as it is and making it into something else.
Not to toot my own horn (as my mom would say), but I kind of excel at making something from nothing. In the kitchen I’m the original CHOPPED champion—What’s in the pantry? Okay! Let’s make dinner! Need a new sofa throw? I pieced one together from old velvet scraps. Want a funky tote bag? I made one from…a feed sack!
If there’s one thing we have on the farm, it’s feed sacks: dog food, cat food, chicken food, cattle food (actually it’s “feed”, but I’m on a roll). And because these sacks are made to hold 50 pounds each, they are tough! What better material to use for crafting a heavy duty feed sack tote bag? Plus their rustic look makes these bags equally appealing for lovers of farmhouse style, industrial chic or upcycling. Plus plus, you guessed it, they’re free!
Let’s get busy making this DIY upcycled feed sack tote bag!
The process couldn’t be easier: just clean it, cut it and sew it! I made the handles from strips of the feed sack, but you can also craft them from purchased (or repurposed) webbing.
Here are the supplies I used for my feed sack tote bag:
a feed sack
scissors
sewing machine
ruler + a pen
a few sewing pins
- Your finished feed sack tote bag is going to be about 14 inches square. Locate the part of the feed sack you want to feature on your tote bag. For example, I wanted the chicken on this bag to be in the middle of my design.

- Center the design and cut out a rectangle that is 17 inches tall. (This allows for 2 extra inches at the top and 1 extra inch at the bottom.) You’ll only be cutting the sack at the top and bottom. The pleated sides of the feed sack will become the pleated sides of your tote bag, so don’t cut the sides!

- Reserve the extra pieces to make straps. (We’ll make these in a few minutes.)
- Turn the sack inside out.
- Give it a good wash with soap (I like Dawn because it cuts any grease) and warm water. Animal feed has a certain odor that you probably don’t want to carry around—plus it sometimes contains molasses that can make the bag sticky. Dry the bag.
- With the wrong side of the bag out, sew across the bottom, leaving a 1 inch seam allowance.

- Now, this is the only tricky part, and it’s really only tricky to explain—not to do! We’re going to make the bag have a flat bottom so that it will stand up on its own.
Here’s how to create a flat bottom tote bag:


Whew! Let’s take a break from the bag now and make the straps.


Now we’re going to make the top of the diy upcycled feed sack tote bag.


Take your handcrafted, DIY up-cycled feed sack tote bag to the grocery, the beach or anywhere you need a strong, adorable tote.
So, how did it go? I’d love to see your new bag! Have fun playing around with various sizes and strap lengths. With the price (FREE!) it’s okay if you make mistakes. Those mistakes may become a new up-cycled project!
pin it for later


Products mentioned in this post: