What to do when you have a gorgeous rock whose only crime is that it hasn’t developed a hole? You give it one! Here’s how to drill a hole in a rock.

This post may contain affiliate links, which means if you make a purchase through the link, I may make a commission at no cost to you. See my Affiliate Disclosure Policy for more information.
Anybody want to guess what we do for fun at Camp Topisaw?
I’ll give you a hint: it involves shuffling along the creek bank, hands clasped behind our backs, eyes glued to the ground. That DOES sound like fun, doesn’t it?
Give up? Rock hunting is our thrill, and it’s a little embarrassing how much time we spend in the pursuit. What’s also funny is how excited we get after the creek floods because, oh joy!, that means all . new . rocks! Which should tell you how much time we spend down there if we believe that we’ve already sorted through all the old rocks…
So what are we looking for? Honestly it depends on the day, but I’ll tell you something we’ve discovered: as soon as you say “I’m looking for heart shaped rocks” then that’s what you’ll see. Heart shaped rocks everywhere! No agates or letter shaped rocks or rocks with holes but only hearts — littering the entire beach.
And speaking of rocks with holes, those are David’s specialty. He’s collected hundreds of them and strings them on wire to create rock strands or uses them in his assemblage mobiles. It’s funny (but don’t tell him I said so) to watch him pick up one holey-looking rock after another and then throw them down with a mild curse. Their crime? They’re the rocks we call “tricksters” because the hole doesn’t go all the way through. They get him every time!
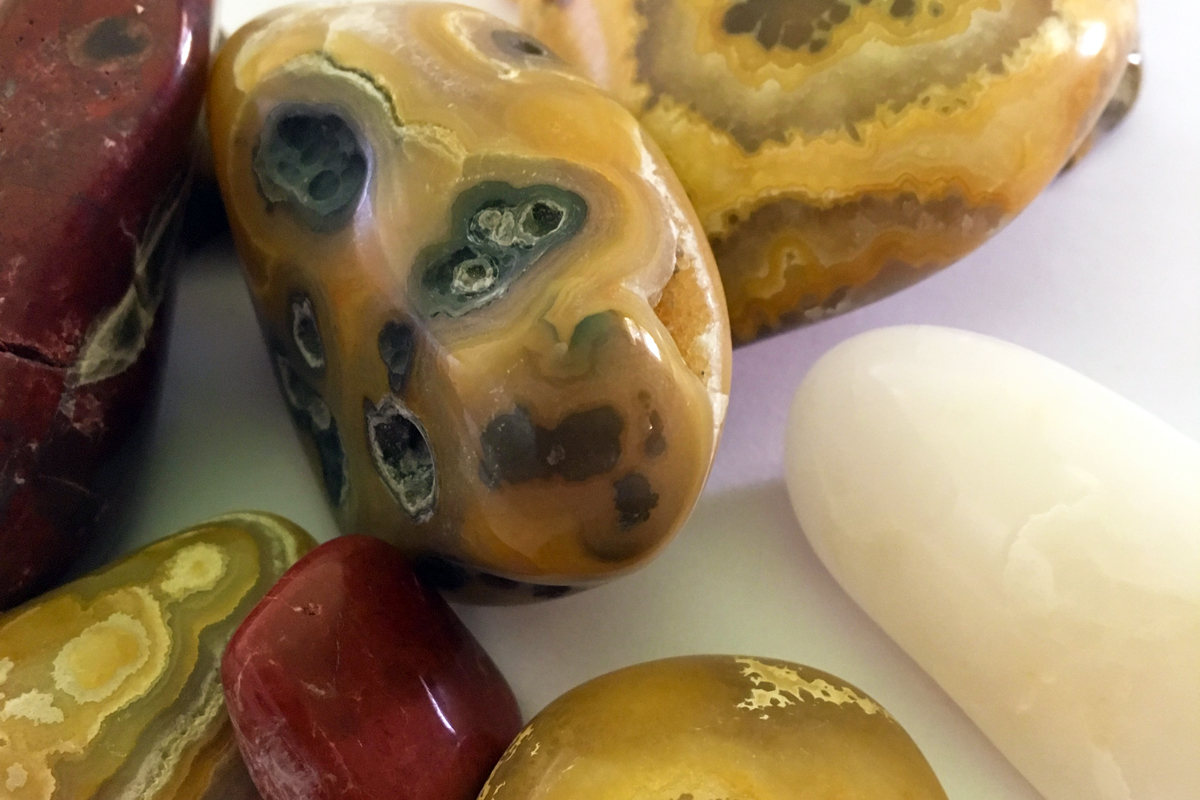
While rocks with natural holes are interesting to find and look great strung up around the garden shed, they’re not usually the most colorful or exciting rocks around. What to do when you have a gorgeous rock whose only crime is that it hasn’t developed a hole?
You give it one! Here’s how to drill a hole in a rock.

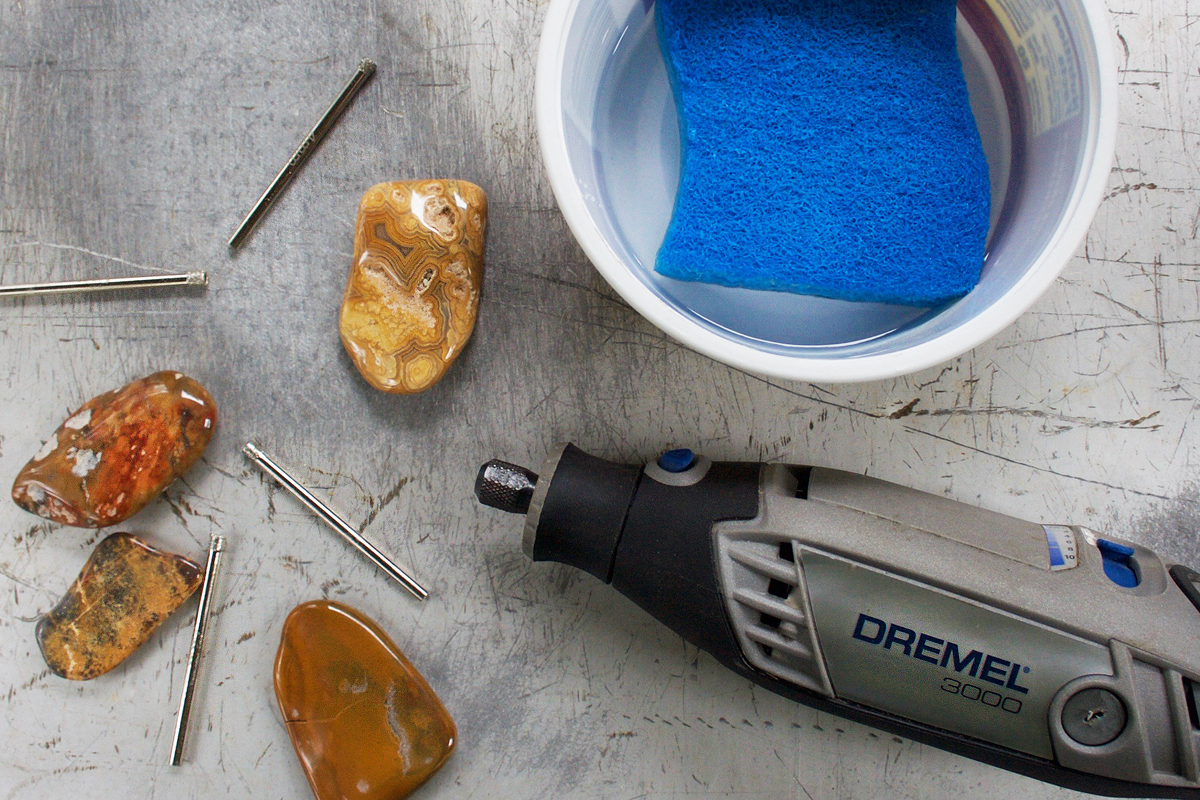
supplies to drill a hole in a rock
You’ll need:
Rocks. Kinda vital, right? Just know that not all rocks are created equal. The ideal rock for making a pendant will be at least 1/2″ wide at the end where you drill the hole and not too thick — up to about 3/8″. To source rocks, raid your rock collection or go on a nature hunt or if you absolutely can’t find a rock anywhere you can order them online which seems like madness to me and even more like, hey, maybe I need to get into the rock selling business!
Dremel Rotary Tool Kit. Once you invest in a Dremel tool you’ll wonder how you ever got along without one. I have the Dremel 3000 and use it to drill holes in rocks and pottery, to hollow out books for upcycled art and to sand small projects. I’m also planning to try my hand at engraving words onto rocks!
Diamond Tipped Drill Bit(s). I went through several brands and styles of drill bits before finding these diamond coated ones. I’ve ordered them several times and have been consistently pleased with the quality.
Plastic Container. It’s important that you submerge the rock and the tip of your drill bit under water while drilling to keep things cool and to prevent dusty rock particles from flying through the air. Use any recycled container (sour cream, etc) wide enough to hold a sponge.
Sponge. The sponge helps hold the rock in place while you’re drilling. It also acts as a barrier between the drill bit and the plastic container so that you don’t accidentally drill a hole in the bottom!
Sharpie or Marker.
how to drill a hole in a rock
- Insert diamond coated drill bit into Dremel tool and tighten chuck.
- Place sponge in plastic container and add water to just barely cover the sponge.
- Mark spot to be drilled on the rock with a Sharpie or marker.
- Place rock on the sponge and hold in place with your non dominant hand.
- Turn the Dremel to low speed and, at an angle, move the drill bit to the marked spot. Starting at an angle is important as it allows you to “score” the rock — to create a groove or place for the bit to catch on so that it doesn’t jump around but rather begins to dig into the rock in the precise place where you want the hole.
- Once the spot is marked, raise the speed of the Dremel and slowly move the bit to a 90 degree angle, trying to stay in the groove you formed in the last step. I use a “press and release” technique to drill the hole, applying strong pressure for about 4 seconds then backing off (while still maintaining drill bit to rock contact) for about 4 seconds. Repeat this until you get to the bottom of the rock. Make sure to keep all the drilling and being-drilled parts under water. Also, do your best to keep the Dremel at a 90 degree angle to the rock.
- As you approach the bottom of the rock, go slowly so that you don’t accidentally push through the plastic container. If you do, of course it’s not a big deal –just go fetch another container!
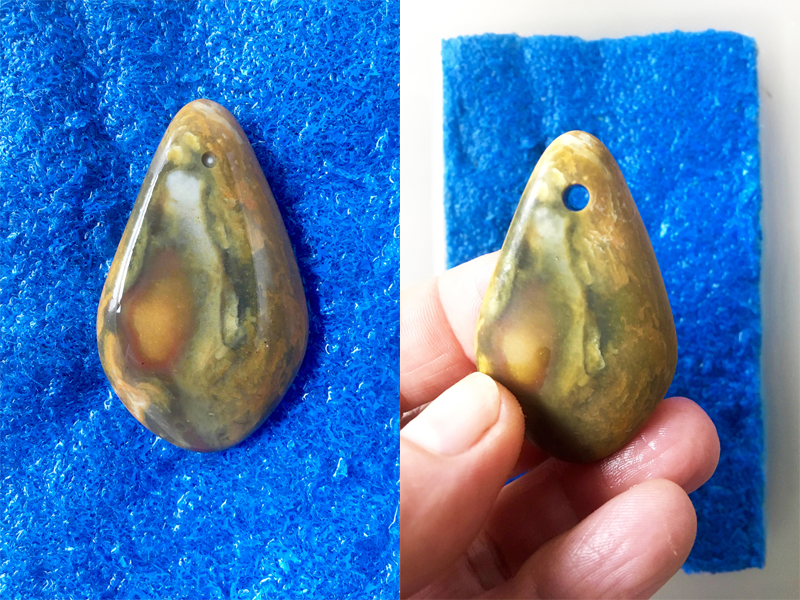
- Once the hole is complete, give the rock a rinse and move on to the next one : )
- As you drill more and more rocks you’ll notice that it’s taking longer to get through each one. At this point you’ll be glad you ordered a 10 pack of drill bits so that you can just change out the dull one for a shiny new one!
- The rocks can be used as is or you can smooth the edges of the hole with fine sandpaper.
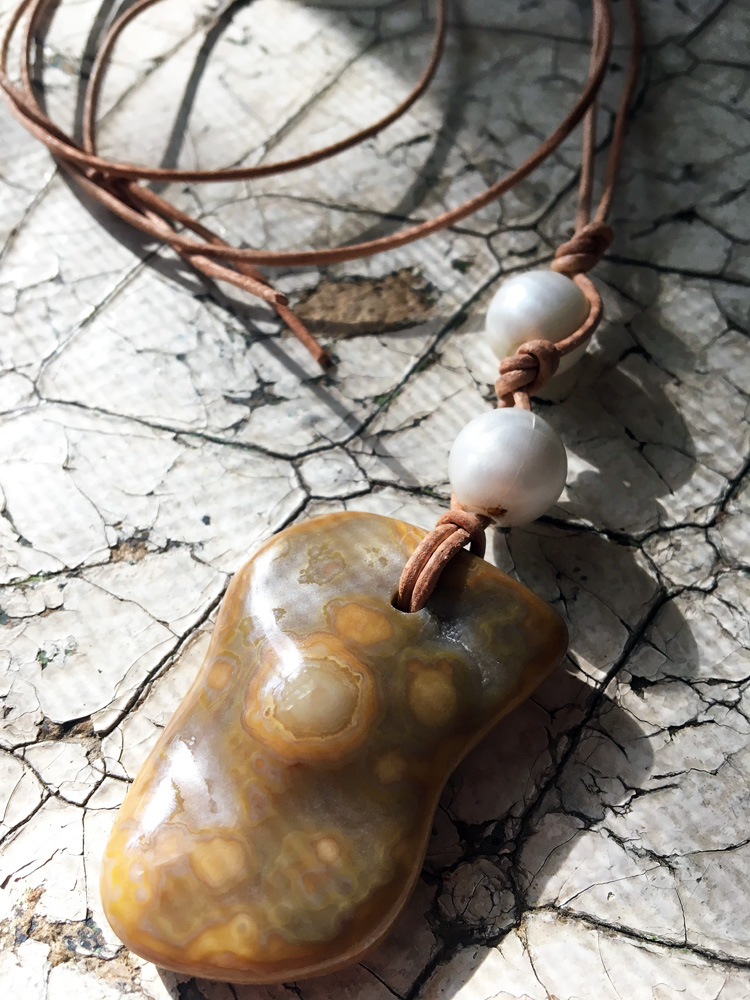
- All done! Now you can string up the rocks with interesting wire or use them in assemblages or make a rock pendant.

BONUS PROJECT: How to Make A Rock Pendant
Did you make this project? I’d love for you to leave a comment below! And if you take a photo please tag me on Instagram @camptopisaw.
Be sure to join my weekly newsletter group and to follow along on Facebook, Instagram and Pinterest!

