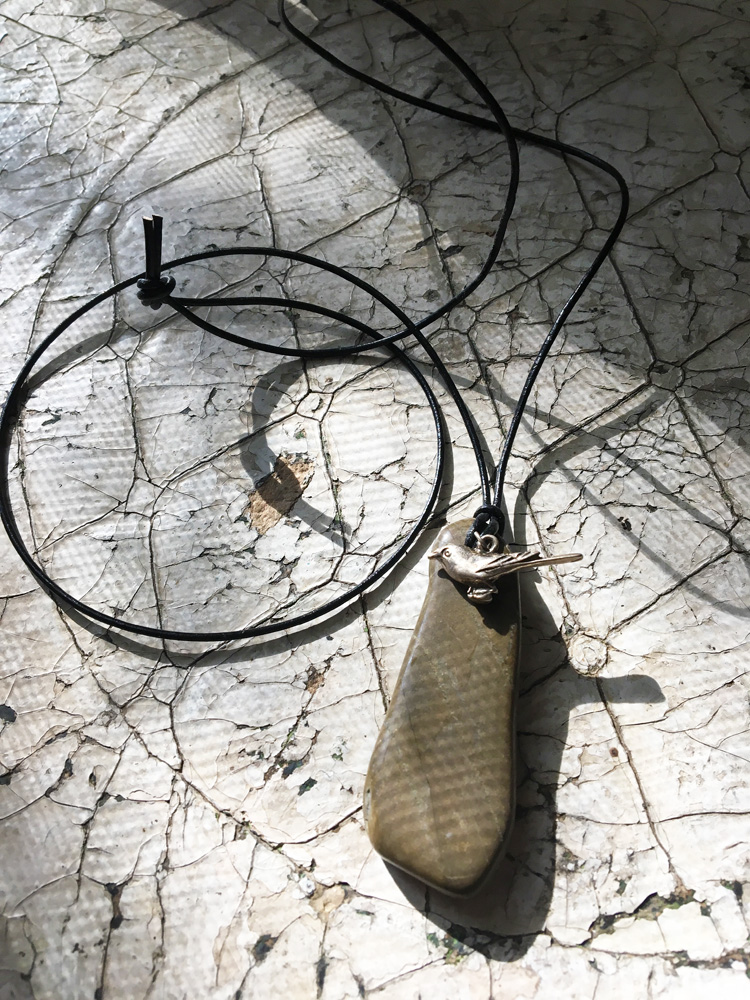
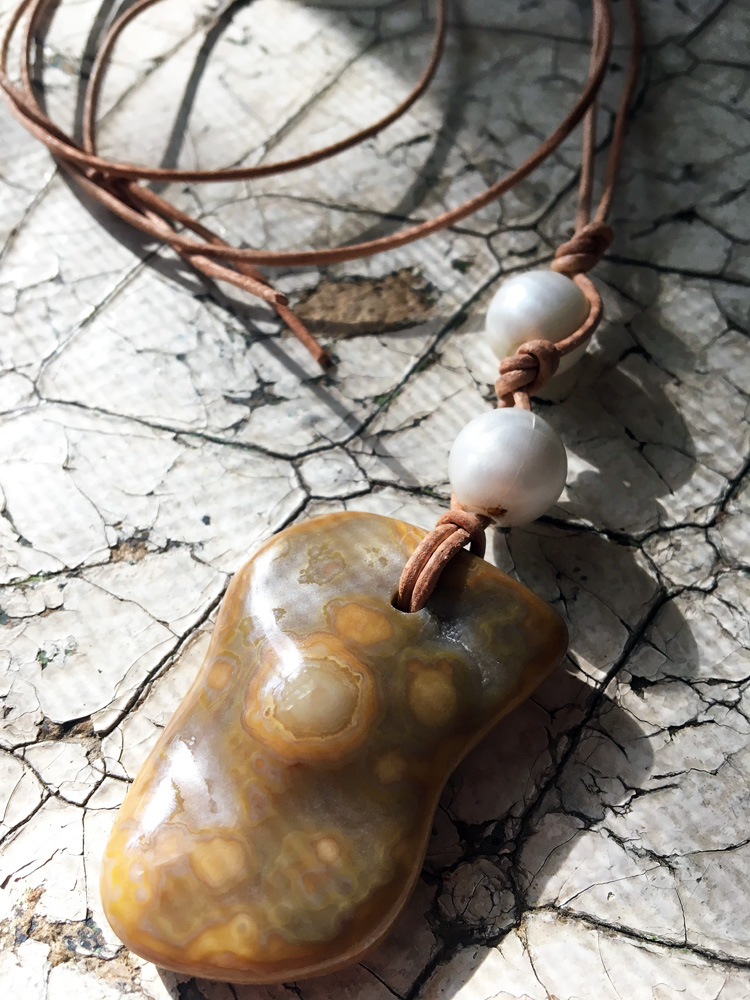
Rock Pendants make great gifts as you can adapt the look to the recipient–from funky to boho to classic. Since they’re so fast and easy, you can learn how to make a rock pendant in less than an hour and have a totally unique, personal gift.
This post may contain affiliate links, which means if you make a purchase through the link, I may make a commission at no cost to you. See my Affiliate Disclosure Policy for more information.
From the time I was little, I’ve loved going for walks.
And when I walk, I tend to pick up bits and bobs — from the roadside or the beach or the forest floor.
It’s always a treat, at the end of the day, to unload my pockets and review the treasures I’ve collected. And since I’m a crafty girl, some of those treasures invariably end up in some sort of project.
More Nature Projects:
Since we live near a creek, we spend a lot of time collecting rocks. And some of those rocks are super special and therefore deserve special treatment.
Like being made into rock pendant!
How to Make a Rock Pendant
You’ll need:
Pre-Drilled Rocks
Follow our detailed instructions to drill a hole in your favorite rock!
Cording (1.5 mm).
Various Beads, Scavenged Bits and/or Buttons.
I love to personalize rock pendants with these simple letter charms.
How to make a rock pendant steps:
- Measure and cut cording to your desired length. HINT: Measure from the back of your neck to where you want your pendant to hang. Double that measurement and add 4″. This is the length to cut the cording. (See NOTES below for alternate lengths). Since this pendant goes on over your head, make sure it’s at least 24″ long.
- Fold the cording in half. From the wrong (or back) side of the rock, insert the doubled end into the hole. Pull the cord through about 1″ and bring it up towards the top of the rock.
- Bring the loose ends of the cording through the loop. Tighten the loop so that it rests on top of the rock.
- Add beads, buttons and other trinkets to the cord. Attach them by threading onto the cord, with jump rings or even by tying onto the cording. Keep things symmetrical or go for a quirkier vibe by placing the items randomly.
- When you’re happy with the assemblage, tie the loose ends of the cording together in a slipknot.

how to make a rock pendant Notes and alternatives
- If you’ll be tying a lot of extra knots when you add beads and trinkets, you’ll need to start with a longer piece of cording. It’s better to start with too much and cut off the extra than to get to the end of your carefully crafted pendant and realize it’s too short! It will help to know that each knot takes 2-3″ of cord.
- There are multiple knots you can use to finish off your pendant. To craft an adjustable knot, follow these instructions.
- Substitute narrow ribbon, braided yarn or several strands of natural hemp for the cording.
- If the ribbon, etc is too thick to go through the hole, just tie it on with more ribbon or yarn. You could even use wire if it fits in with your desired look.
Tell your rock’s story
If the rock you’re using has a story (maybe you collected it along a favorite stream or beach) be sure to include a note that tells about it. That will make the rock pendant even MORE special to the recipient!
Rock Pendants make great gifts as you can adapt the look to the recipient–from funky to boho to classic. Since they’re so fast and easy, you can make a rock pendant in less than an hour and have a totally unique, personal gift.
Did you make this project? I’d love for you to leave a comment below! And if you take a photo please tag me on Instagram @camptopisaw.

